
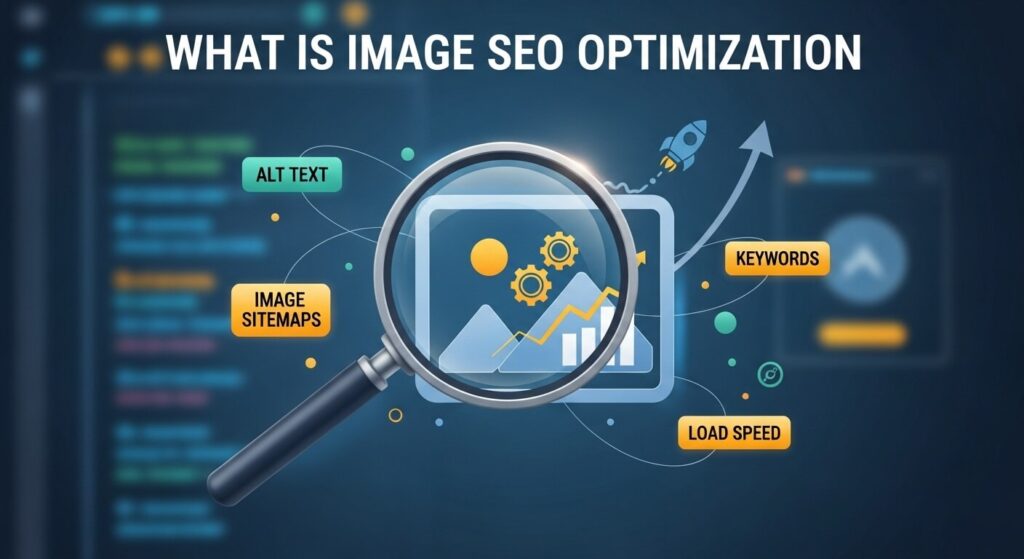
Short answer: Image SEO optimisation means preparing your images so Google can find and understand them and so they do not slow your pages down. For beginners that comes down to six habits: use relevant original images, give them short descriptive file names, write accurate alt text, place them near related text, compress and size them correctly in a modern format, and use a normal HTML img tag that Google can crawl.
This guide is for bloggers, shop owners and people new to SEO who upload images every week but have never been sure what Google actually needs from them. By the end you will be able to name, describe, size and publish an image correctly in a few minutes, check your existing images against a checklist, and avoid the mistakes I see most often when I audit sites.
What is image SEO optimisation?
Image SEO is the set of steps that help an image do two jobs at once: be understood by search engines, and load quickly for people. The first job earns visibility in Google Images, Google Lens and the image strips that appear in normal results. The second job protects the page the image sits on, because a slow, heavy image drags down loading speed and user experience for the whole page.
Google cannot “see” an image the way a person does with full certainty, so it relies on signals around it. Its own image SEO best practices name the main ones: the alt attribute, the file name, captions, the page title and the text placed near the image. Your job is to make those signals accurate and consistent.
Image SEO vs image optimisation
People use the two terms interchangeably, but it helps to split them. Image optimisation usually means file size and speed (compression, dimensions, format). Image SEO includes that, plus discoverability (file names, alt text, context, sitemaps, structured data). A tiny file with the name IMG_4471.jpg and no alt text is optimised but not SEO-friendly. A perfectly described 4 MB photo is the opposite. You need both.
How Google finds and understands your images
Before you change anything, it is worth knowing how an image reaches Google Images:
- Discovery: Googlebot finds the image through an
<img>element in your page HTML, or through an image sitemap. Google states plainly that it does not index images set as CSS backgrounds, so a hero image added through a page builder’s background setting is invisible to image search. - Understanding: Google reads the alt text, file name, caption and surrounding content, and uses computer vision to check what the image shows.
- Ranking: the image competes for queries based on relevance, the quality of the page it sits on, and how useful it is to the searcher.
The practical lesson is that an image is only as strong as the page around it. A well-described photo on a thin page rarely ranks, while a clear original photo on a genuinely useful page often does.
Rather have an expert do this for you?
Hand it over and get back to running your business.
Image SEO best practices for beginners
1. Use relevant, original images
Generic stock photos appear on thousands of other sites, so they add little that is unique. Where you can, use your own photos, screenshots, charts and diagrams. Original images also tend to earn links when other sites reference them, and they give Google Lens something distinctive to match. Place each image close to the paragraph it supports rather than in a random gallery at the bottom.
2. Give each file a short, descriptive name
Rename the file before you upload it, because WordPress and most CMSs use the original name in the image URL. Use lowercase words separated by hyphens that describe what is in the image: black-leather-office-chair.webp, not DSC_0042.jpg or best-office-chair-buy-office-chair-cheap.webp. If your site runs in more than one language, Google recommends translating file names for localised images too.
3. Write alt text that describes, not alt text that stuffs
Google calls alt text the most important attribute for providing metadata about an image. Describe what the image shows and why it is on the page, in one plain sentence, and include a keyword only if it is genuinely part of the description. Google explicitly warns against filling alt attributes with keywords. Decorative images (dividers, background shapes) should have an empty alt="" so screen readers skip them. I cover the details, with good and bad examples, in my guide on how to write alt text correctly.
4. Choose the right format
Google can index BMP, GIF, JPEG, PNG, WebP, SVG and AVIF, and the file extension should match the real format. In practice, the choice depends on what the image is:
| Image type | Best format | Why | Avoid |
|---|---|---|---|
| Photos (products, people, places) | WebP or AVIF, with JPEG as fallback | Much smaller files at similar visual quality | PNG photos, which are often several times larger |
| Screenshots and images with text | WebP or PNG | Keeps text sharp without JPEG blur around letters | Low-quality JPEG |
| Logos, icons, simple diagrams | SVG | Scales to any size and is usually tiny | Large PNG logos |
| Short animations | MP4 or WebM video | Far lighter than animated GIF | Multi-megabyte GIFs |
| Images needing transparency | WebP or PNG | Both support transparent backgrounds | JPEG, which has no transparency |
Adoption is still low: the 2024 Web Almanac found WebP made up 12% of mobile image requests and AVIF just 1.0%, so switching formats is still an easy gain over most competitors.
5. Resize and compress before you upload
The most common problem I find on small business sites in Pakistan is a phone photo of 3 to 5 MB uploaded straight into a product page or blog post and shown in a 700-pixel column. Visitors on mobile data download the full file every time. Resize the image to roughly the largest size it will actually display (twice that for sharp results on high-density screens), then compress it. My free image resizer and image compressor run in the browser, so nothing needs installing. As a working rule from my audits, most in-content photos can sit comfortably under 150 KB and many under 100 KB without visible loss; treat that as a target to check against, not a Google rule.
6. Serve responsive images
A phone does not need the same file as a 27-inch monitor. The srcset and sizes attributes, or the <picture> element, let the browser pick the right version. Google supports both but notes that some crawlers do not understand them, so always keep a normal src as a fallback. WordPress generates srcset automatically for images inserted through the media library, which is one more reason not to hard-code images into theme backgrounds.
7. Lazy-load below the fold, never the main image
Lazy loading delays images until the visitor scrolls near them, which saves data. The catch is the image at the top of the page. Google’s web.dev team says not to lazy-load images likely to be in the viewport when the page loads, especially the LCP image, because the browser cannot fetch it until layout is known. Yet nearly one in ten LCP images on mobile is lazy-loaded. Leave the hero or featured image eager, and add width and height attributes to every image so the layout does not jump while it loads; my guide to fixing layout shift explains why. These fixes feed straight into your Core Web Vitals.
8. Add an image sitemap where it helps
An image sitemap lists images Google might not otherwise find, such as images loaded by JavaScript or hosted on a CDN domain. Most small sites do not need one, because Yoast, Rank Math and similar plugins include images in the normal XML sitemap. One update that many older guides miss: Google’s image sitemap documentation now only uses <image:image> and <image:loc>. The caption, title, geo location and licence tags have been removed from its documentation, so there is no point adding them.
Example: a minimal image sitemap entry
<url>
  <loc>https://example.com/office-chairs/</loc>
  <image:image>
    <image:loc>https://cdn.example.com/black-leather-office-chair.webp</image:loc>
  </image:image>
</url>
Each page entry can list up to 1,000 images. If the images live on another domain, verify both domains in Search Console, and make sure robots.txt does not block the image folder.
9. Use structured data on pages where images matter
Structured data such as Product, Recipe or Article markup tells Google which image represents the page, and Google says it can make images eligible for rich results and badges in Google Images. You can also signal a preferred image with og:image or the schema.org primaryImageOfPage property. Start with the schema markup types that match your page rather than adding a standalone ImageObject to every photo.
Worked example: fixing one product image
Here is the kind of before and after I make on audits. The page sells an office chair; the image is the main product photo.
| Element | Before | After |
|---|---|---|
| File name | IMG_20240611_103355.jpg | black-leather-office-chair-high-back.webp |
| Alt text | office chair best office chair Karachi | Black leather high-back office chair with padded armrests |
| File size | 4.1 MB, 4000 x 3000 px | Around 90 KB, 1400 x 1050 px (illustrative) |
| Loading | loading=”lazy”, no width or height | Eager, with width and height set |
| Context | Photo in a slider with no text | Photo next to the product name, price and specs |
None of these changes are clever. Together they turn an image that Google can barely interpret and that delays the page into one that describes itself, loads quickly and sits in clear context.
Image SEO checklist for every upload
- Relevant image: it supports the text next to it, and is original where possible.
- Renamed file: short, lowercase, hyphenated words describing the image.
- Right format: WebP or AVIF for photos, SVG for logos and icons, video instead of large GIFs.
- Resized: no larger than about twice the width it displays at.
- Compressed: checked by eye after compression; most in-content images well under 150 KB.
- Alt text written: one plain sentence describing the image, or empty alt for decorative images.
- Width and height set: so the layout does not shift while the image loads.
- Loading set correctly: eager for the main or first image, lazy for images further down.
- Real img tag: not a CSS background, if you want the image in Google Images.
- Caption added where useful: charts, diagrams and how-to photos benefit most.
- Sitemap covers it: your SEO plugin’s sitemap includes images, or an image sitemap lists them.
- Structured data: Product, Recipe or Article markup points to the main image where relevant.
Ticks are saved in your browser, so you can work through older posts over several sessions.
Common image SEO mistakes I see
- Keyword-stuffed alt text: repeating a target phrase on every image of a page. It does not help and Google lists it as something to avoid.
- Text baked into images: prices, headings or contact details inside a banner graphic. Google and screen readers cannot read them reliably; put important text in HTML.
- Important images as CSS backgrounds: common with page builders and sliders, and not indexed.
- Lazy-loading the hero image: a default setting in several plugins that slows the largest element on the page.
- One huge original reused everywhere: the same 2 MB file shown as a thumbnail in category grids.
- Blocking image folders in robots.txt: usually left over from a development site, and it stops images being indexed at all.
If your images live mainly in blog posts, my guide to optimising blog images walks through a WordPress publishing workflow. If you want images to work for Google Lens and camera searches, see visual search optimisation.
How to measure image SEO results
In Google Search Console, open the Performance report and change the search type to Image. That shows the queries, pages and clicks coming from Google Images specifically. For speed, run your key templates through PageSpeed Insights or my free page speed checker and look at which element is the LCP and how large it is. A quarterly crawl with a tool such as Screaming Frog will list images over a size threshold, missing alt text and broken image URLs, which is usually enough for a small site.
Frequently asked questions
Does image SEO help my page rank, or only my images?
Both, indirectly. Good images help the page through faster loading and a better experience, and descriptive alt text and context help Google understand the page topic. The direct gain is visibility in Google Images and image results inside normal search.
What is the best image format for SEO?
Google does not rank one format above another, as long as it is supported. WebP and AVIF are usually the best choice for photos because they are much smaller at similar quality. Use SVG for logos and icons and keep a JPEG or PNG fallback only if you must support very old browsers.
How long should image alt text be?
Long enough to describe the image and its purpose, usually one short sentence. There is no official character limit from Google, but very long alt text is tiring for screen reader users. Leave it empty for purely decorative images.
Do image file names matter for SEO?
Yes, a little. Google says file names give it clues about the subject of an image, and recommends short descriptive names over generic ones like image1.jpg. They are a small signal, so do not stuff them with keywords.
Do I need an image sitemap?
Most small sites do not, because standard SEO plugins already include images in the XML sitemap. An image sitemap is useful when images are loaded by JavaScript, hosted on a separate CDN domain, or when you have a large image library such as a stock photo or e-commerce site.
Should I lazy-load all images?
No. Lazy-load images further down the page, but load the first visible image, especially the largest one, normally. Lazy-loading it delays your Largest Contentful Paint.
Sources
- Google Search Central, “Image SEO best practices” (last updated 2026).
- Google Search Central, “Image sitemaps” (accessed 2026).
- web.dev, “Browser-level image lazy loading for the web” (updated 2024).
- HTTP Archive, “Web Almanac 2024: Media chapter” (2024).
Start with the checklist on your ten most visited pages, then work backwards through older posts. If slow pages are the bigger problem, my website speed optimisation service covers images alongside hosting, caching and scripts, or you can ask me a question directly.
Request received
Thank you! Saad will contact you within the next 24 hours.
Keep an eye on your phone and inbox.